
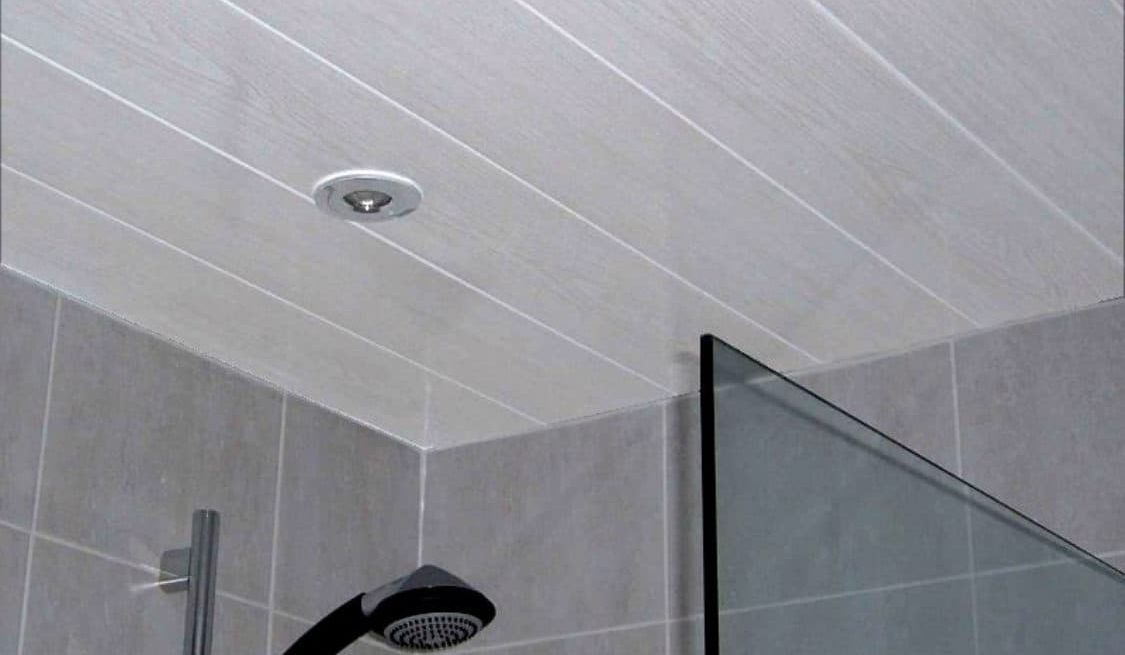
One of the most remarkable advantages of ceramic tile is the possibility of installing it over old floor surfaces to spruce up the look of old bathrooms or kitchens for example plywood surfaces.
- Making ready the location for the installation
Remove any outdated flooring that may already be present, then cover it with a sheet of plastic before beginning to cut out the space where the tiles will be installed. The first thing that has to be done in this step is to remove the subfloor from underneath the plywood (if present). To do this task, you will need a sawzall, a prybar, and/or a utility knife. After removing any nails that could be keeping the plywood in place, make cuts along the room’s perimeter using the prybar or sawzall. If you are going to be putting the tiles on top of concrete, then you will need a chisel and a hammer in order to break away the mortar that is between the joints and reveal the concrete.

When the floor is finished being prepared, place a cover on it to shield it from moisture and guarantee that nothing will be broken. The next step is to attach a temporary spacer under the bottom corner of the plywood. This will prevent the tiles from getting trapped when they are being slid into place.
- Putting in place the tiling
When installing the tiles, make sure to leave about two inches of space between each one and do it in accordance with the instructions provided by the tile maker. Before driving the final nail, use the spacer to confirm that the tiles will remain in their current position.
- Carve a grove all the way around the perimeter of the plywood
After the tiles have been laid down, it is important to check that they are level across the entire surface by measuring their heights and making any required adjustments. Placing a straightedge tool against the topmost edge of the plywood and then running it along the full length of the wall will result in the creation of a groove along the edges of the plywood. Continue carrying out the procedure until you have finished cutting grooves all the way around the plyboard’s edges. Cut the final groove at an angle so that a saw blade may be easily moved underneath it without causing any damage to the plywood.
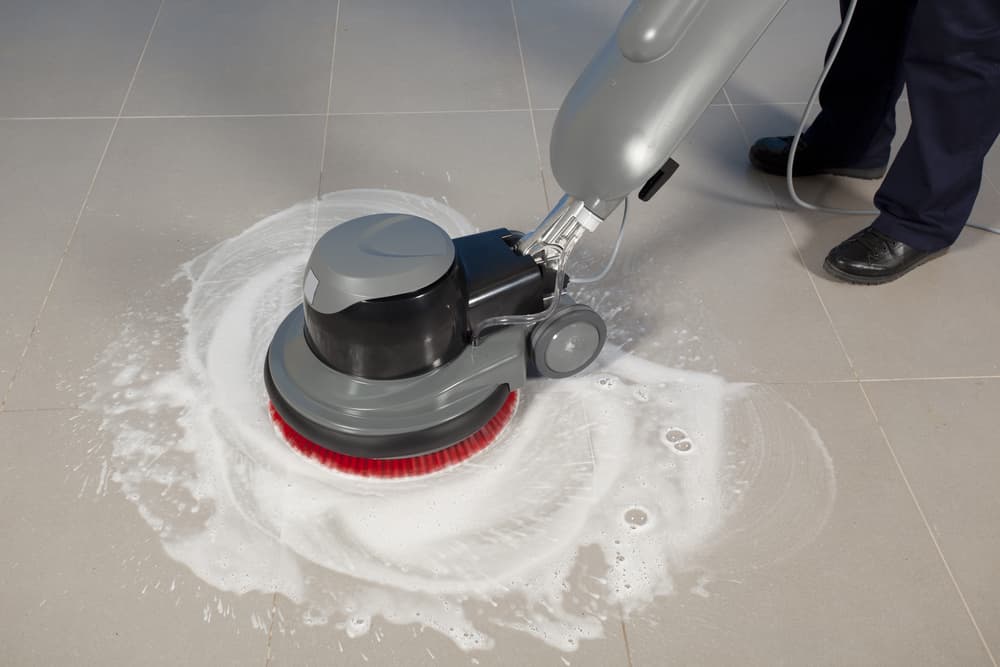
- Scrubbing down the region
Use a moist sponge to apply some bleach to the area in order to disinfect it after you have finished cleaning it. After you have finished cleaning the area, make sure that it is completely dry by using a paper towel.

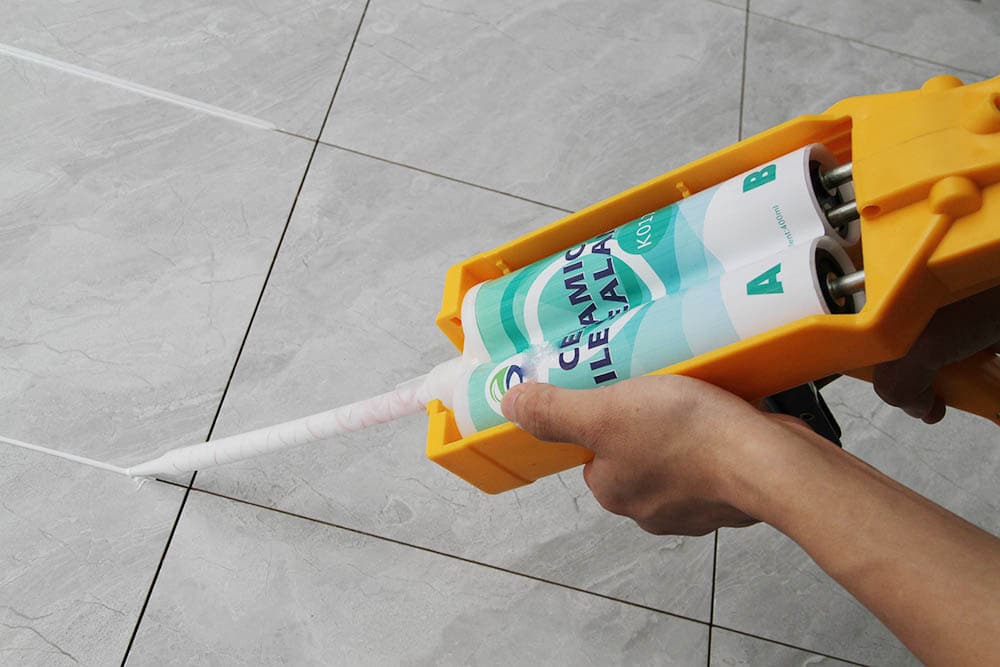
- Filling in the holes with the appropriate caulk
The hole can be filled in most effectively by preparing some concrete, then pouring it back into the space. If, on the other hand, you do not have access to a pump, you can easily remove the cement and replace it with something else by scraping it away with a putty knife. For the purpose of sealing the concrete and preventing it from drying out, a thin coat of polyurethane sealer should be applied to the plywood.
- Making use of spacers
When placing tiles over concrete, you will need to make use of spacers to keep the tiles aligned and in proper alignment with one another. These spacers are often crafted from wood, and their sole purpose is to serve as a supporting structure for the tiles while they are being set into place during the installation process. To prevent glue from getting on the tiles, cut these spacers into pieces that are proportional to the size of the tiles you are using, and then glue those pieces onto the plywood.
- Affixing the grout lines to the surface
Using a small brush, apply grout to the joints between the tiles, and then wait for it to dry. To finish the process, use a rubber spatula to distribute the grout over the joint, and then use the brush to make the grout as smooth as possible. After waiting for half an hour, remove any excess grout with a towel that has been dampened in water.

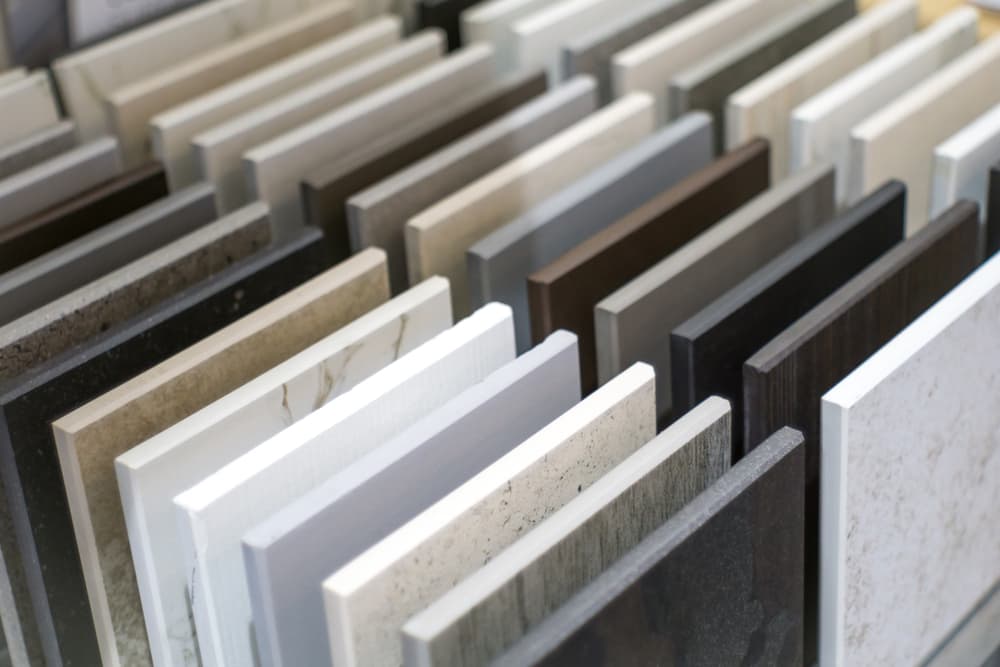
- Ceramic Tile
Because they are made of a porous substance, ceramic tiles make it easy for water to move through the surface. They retain moisture while not being able to absorb it due to the fact that their pores are so small. Since of this, they are excellent candidates for use as flooring because they prevent the buildup of an excessive amount of moisture. Because it is possible for the ceramic tile to fracture and break if it is placed directly into concrete, this method of installation is not suggested. When shopping for ceramic tile, you should search for a wide selection of designs, colors, and surface textures. Consider all of your choices and select an item that is a good fit for the area you have available. When selecting your tile, keep in mind that some people have a preference for darker or brighter hues than others, so make sure that you take this into consideration. Before applying the grout, you should consider utilizing stencils to cut out areas of the tile in order to achieve the desired pattern or color if you are doing so. In this manner, you will be able to apply the precise quantity of grout that is required for filling in the holes. You won’t have to buy another batch of grout if the first one isn’t quite the appropriate size, which will save you both time and money.

- Plywood
Plywood is available in a wide variety of species. Plywood can have a variety of qualities, some of which are determined by the type that is purchased. There is a correlation between the thickness of the boards and the longevity of the wood. It is imperative that you choose a board that is sturdy enough to prevent warping even when subjected to high temperatures and foot activity. In general, plywood should be placed under electrical outlets or heating systems, particularly those that produce a great deal of heat. This is especially important for systems that produce a lot of heat. Because of its less weight, thin plywood is the material of choice in situations like this. If, on the other hand, you intend to place plywood on a wall, you will need to select boards with a greater thickness.


Your comment submitted.