Purchase And Day Price of Painted Beadborad Backsplash
Because they are simple to maintain, beadboard is a highly practical option for kitchen backsplash, walls, and ceilings
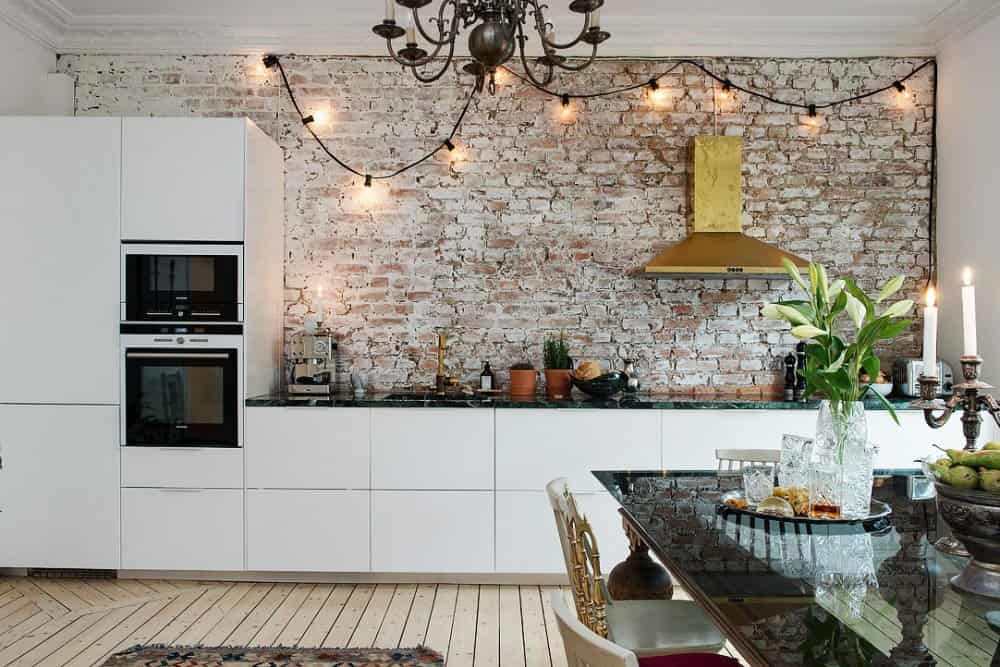
Particularly suited for kitchens in farmhouses, rural settings, or coastal homes, it may be stained or painted
Beadboards give any area a tidy appearance and are a quick and simple solution to give plain walls architectural character
Beadboards may be utilized as kitchen sprinklers in addition to being used on kitchen walls and ceilings
A bead board is a term that refers to a stack of long, thin boards made of wood
In this context, the term “bead” refers to the minute depressions or protrusions that may be found between each individual piece of wood
The vast majority of beadboard that is manufactured nowadays is comprised of lengthy single panels
These panels are straightforward to install and imitate the look of thin vertical boards
One of the most significant advantages of the beadboard backsplash in the kitchen is the ease of installation, which makes it possible to make use of prefabricated sheets and finish the backsplash in a period of time that is less than a weekend
Not to mention the fact that the beadboard kitchen backsplash is significantly more cost-effective in comparison to other potential choices
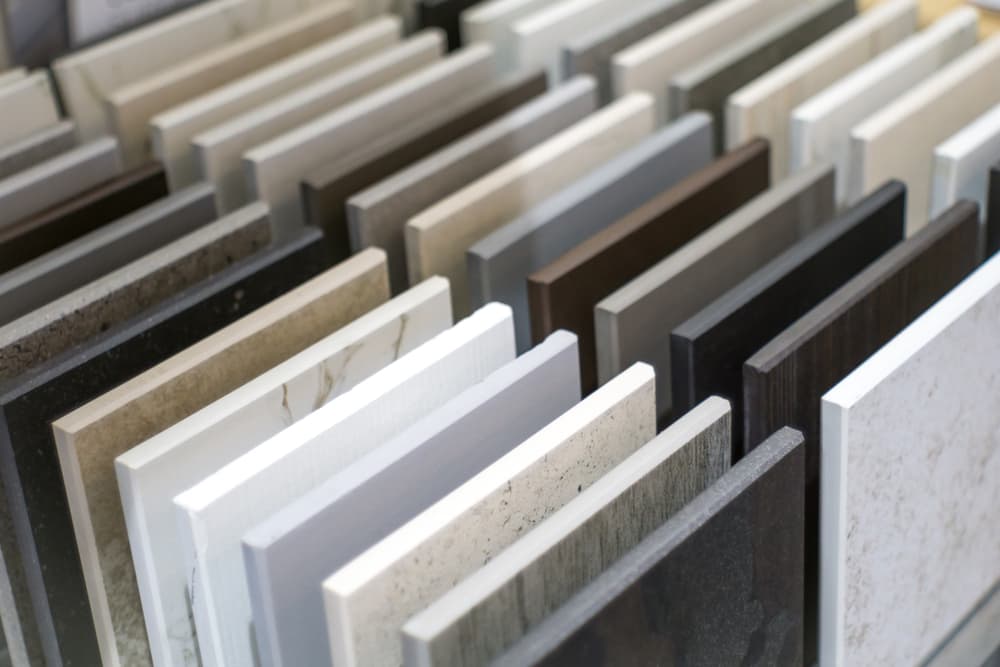
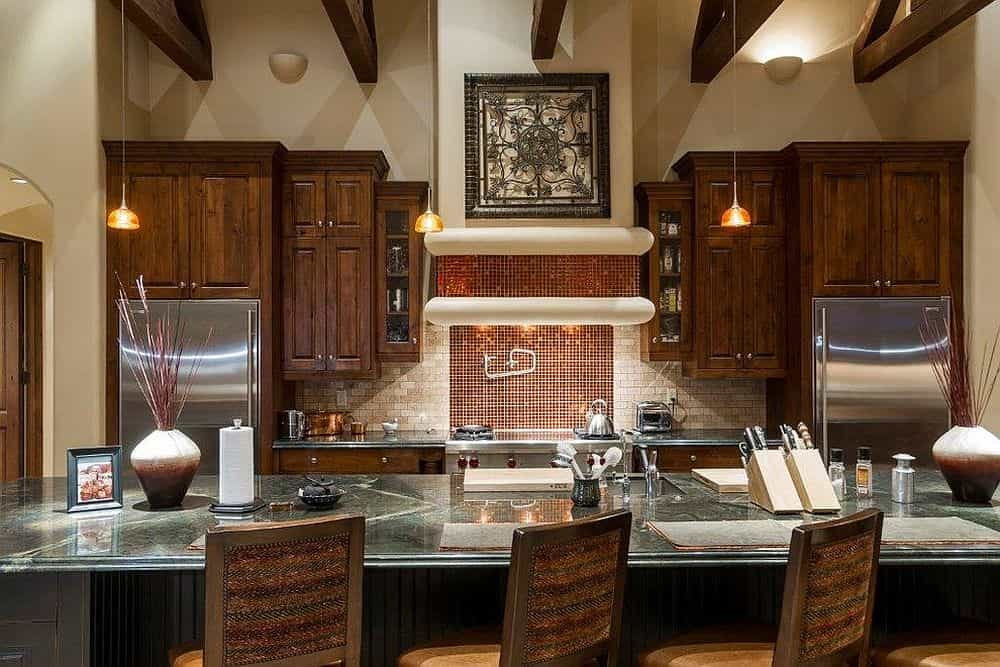
First and foremost, you should consider the board width and the bead depth
If you want to keep a large area together, narrower boards are the way to go, while larger boards are more calming in a cramped kitchen
Beads with deeper grooves are desirable since they are more handmade; nonetheless, it is important to keep in mind that even exceptionally deep grooves may be difficult to clean
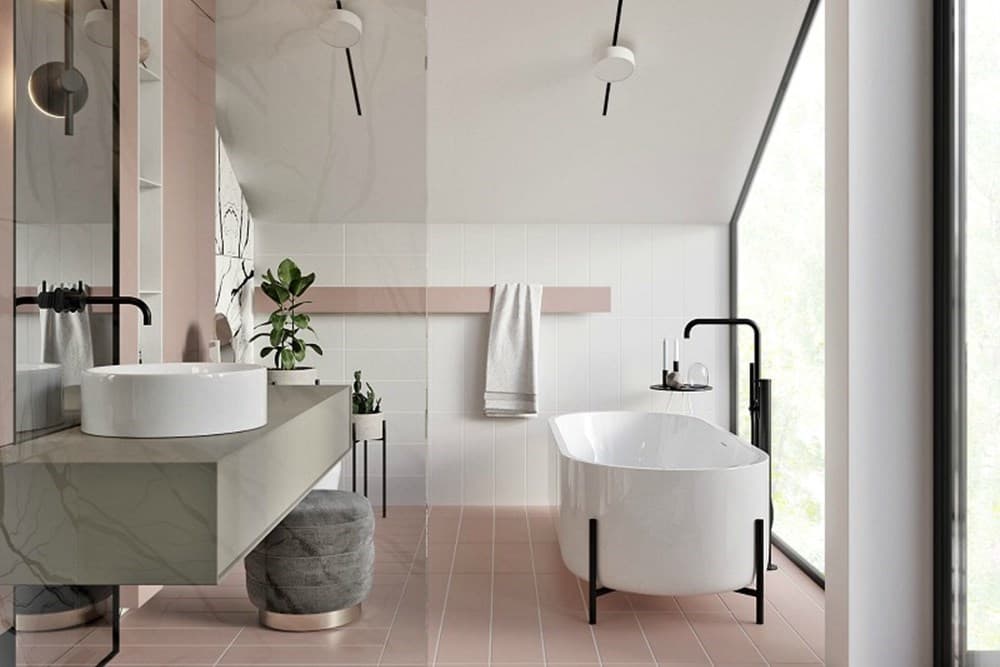
You do not need to stick to the traditional whites and creams while you are painting
The interior design theme of the kitchen is supported by the beadboard, which, if desired, can be painted in a color that either compliments or contrasts with the cabinets in the kitchen
For a look that is a little bit rustic while yet being on the cutting edge, choose colors like dark beige, slate blue, or mint green
Pick a color for the interior enamel (often referred to as the “door and trim” color)
It dries more slowly than regular latex paint and is more scratch- and scratch-resistant, particularly in high-traffic areas
Regarding gloss, we enjoy a beautiful matte finish, but it’s preferable to use satin or semi-gloss in this situation
Better paint adherence is encouraged by a clean surface
Put drop cloths down to protect the floor before you begin working, open the windows or doors for optimum ventilation, and put on a face mask
Start by using a home cleaner made to degrease the surface to thoroughly clean the beadboard
Take care to also wipe the panel’s inside microscopic grooves, where dust likes to accumulate
Give the area time to totally dry
The areas around the beadboard that you do not want to have painted should be sealed
If you press your finger firmly over the edge of the tape, you can stop paint from escaping from under the tape, which is what you want to prevent
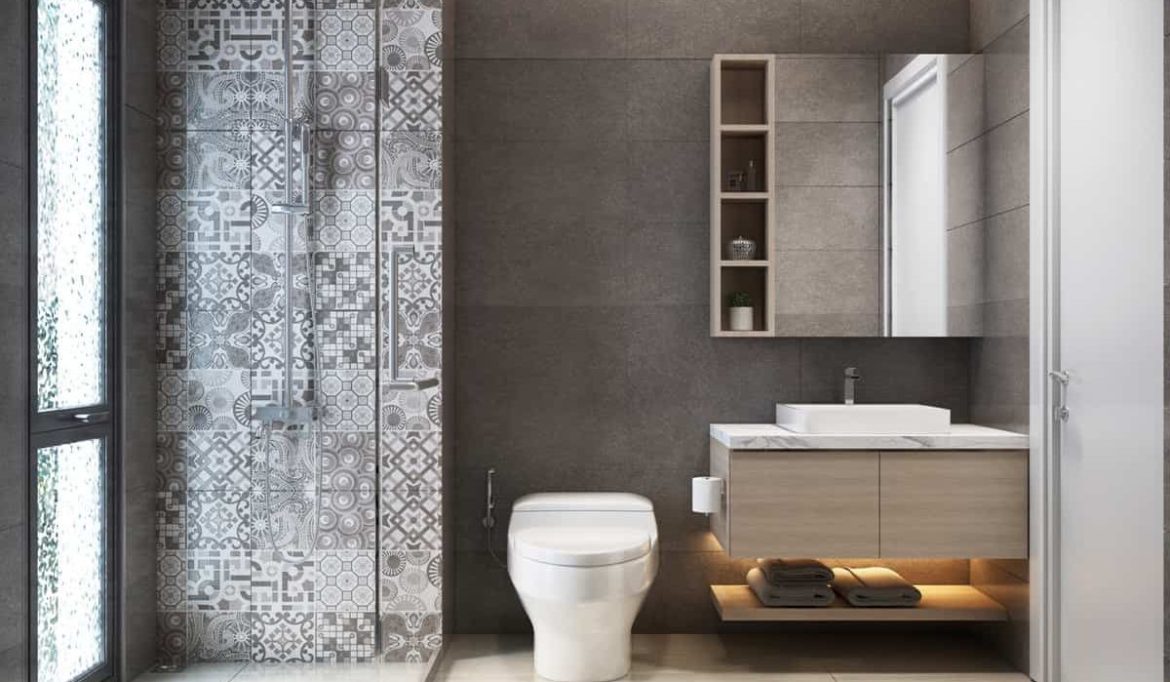
Even if the beadboard has already been primed with paint, it is still a good idea to apply a base coat that is resistant to mildew
This is especially important in areas that are prone to high humidity or water splashings, such as bathrooms and kitchens
After ensuring that every groove is filled, use a paint roller to apply primer over the remaining surface so that it is uniformly covered
If you decide to paint the beadboard before installing it, you will need to protect it from moisture by preparing both the front and the back of the board
Allow the primer to dry completely before proceeding
After the primer has dried, start by painting the interior of the beadboard groove from top to bottom with a 2-inch angled sash brush
Don’t omit this step since the paint roller won’t be able to press the paint into the grooves evenly on its own
I use color sparingly in this to prevent drips
Consider painting the baseboard and trim at the same time
After you have painted the grooves and the trim of the beadboard, use a paint roller to paint the smooth side of the beadboard
He works on two areas of the leg at once, applying very thin layers of paint to each
If you use a roller of sufficient quality, you will be able to achieve a finish that is flawless
On the other hand, if you find that the roller still leaves some texture behind, you may get rid of it by using a brush
This technique is referred to as “back brushing
” After the first coat has had time to dry, you may begin applying the second layer
He cautiously lifts the tape at an angle of 45 degrees while the paint is still slightly tacky
Before bringing the object back into the room, you should let the paint for at least one day to cure completely
Depending on the temperature and the amount of humidity in the air, the drying process for the paint might take anywhere from two to four weeks
Beadboard, which has recently been painted, may be enjoyed while you create your new home
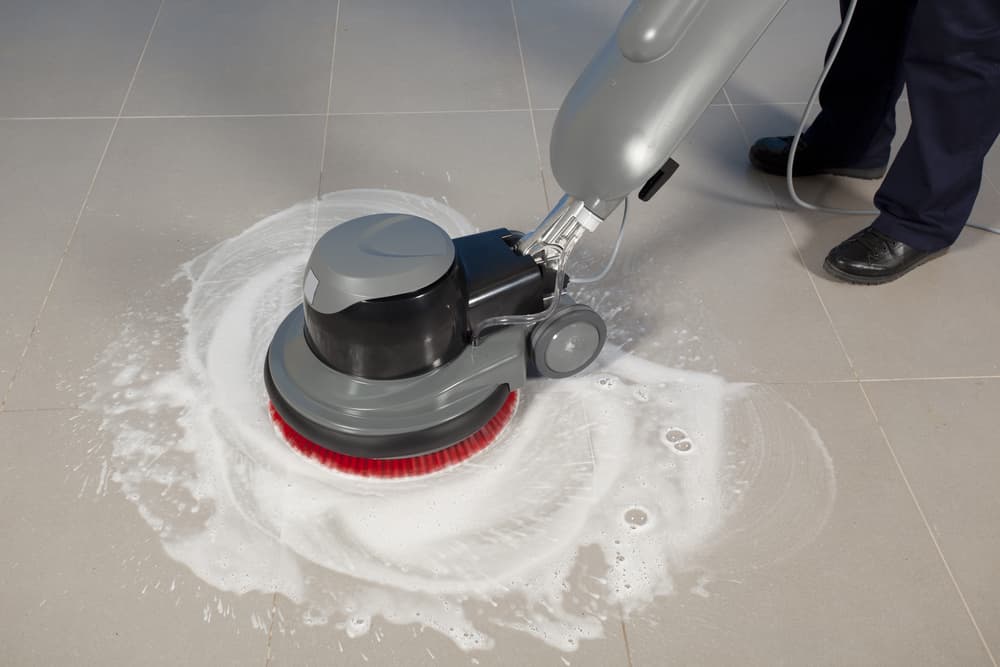
Another benefit of beadboard panels is that there are no seams, which means there are less areas for moisture and mildew to hide from the scrubber
The biggest drawback of choosing a particleboard backside is that it may eventually attach to the grooves from exposure to dirt, dust, grease, and food particles
We do not advise utilizing abrasive cleansers that are used on countertops and stovetops because of their sensitive nature
After using a microfiber cloth to clean everything as thoroughly as possible, use a toothbrush or a small, soft scrub brush to remove any difficult-to-reach stains
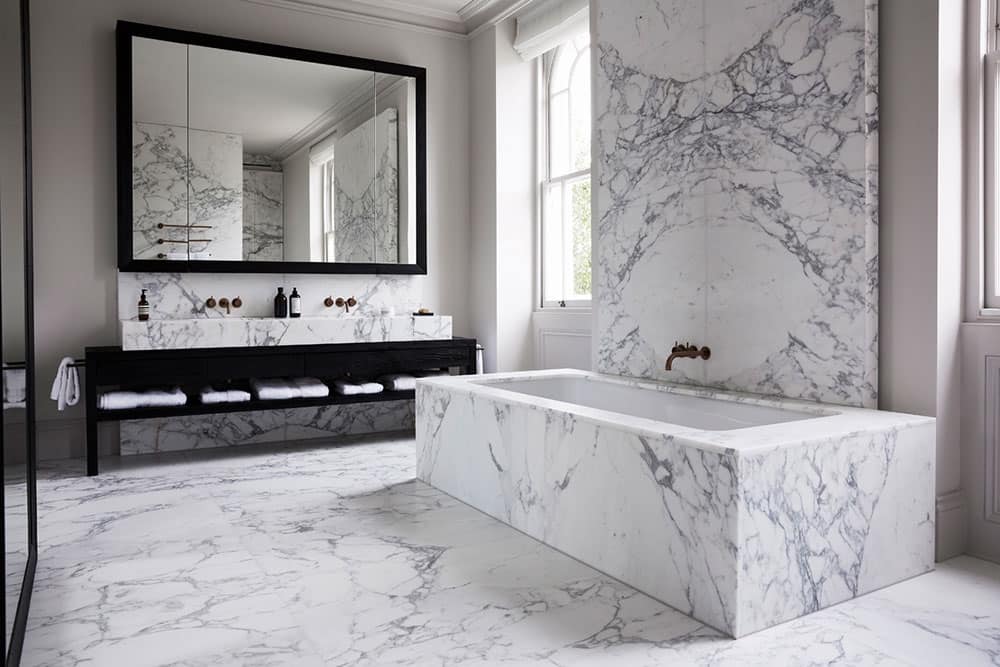
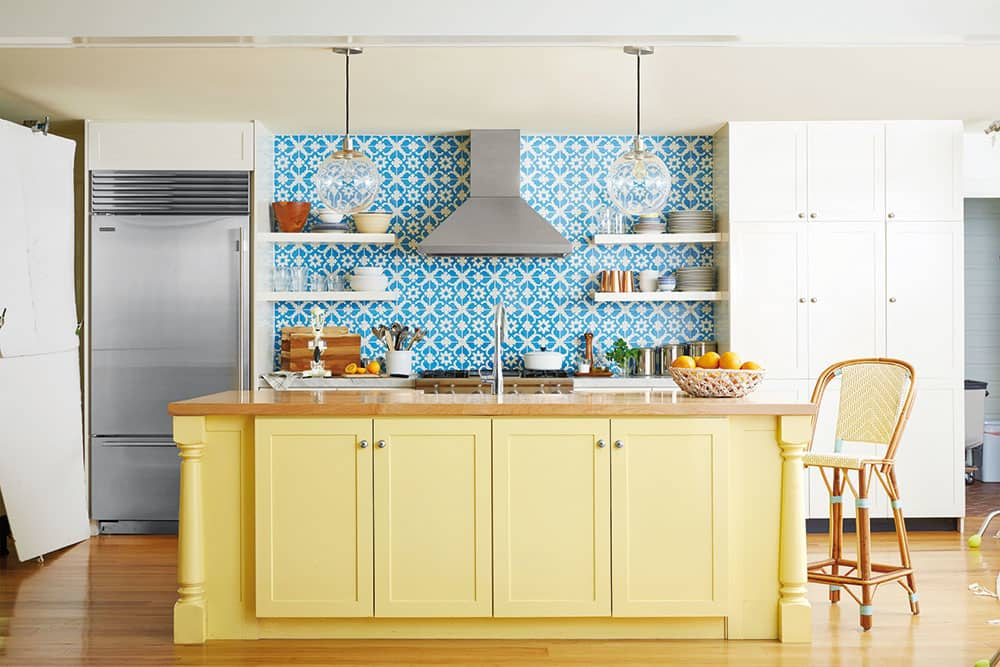
Beadboard is a fantastic material for a kitchen backsplash since it has numerous advantages and is simple to install
Beadboards may offer a strong emphasis on clashing hues or a comfortable rustic vibe to your kitchen