How to install beadboard kitchen backsplash
Let’s learn more about the beadboard kitchen backsplash before we discuss how to install it
The wall between your table and cabinets may be protected at a low cost using a beadboard kitchen backsplash
While a full tile backsplash might be out of your price range, a normal tile backsplash extends four inches from the countertop, leaving the remainder of the wall exposed and vulnerable
Stainless steel or glass single panel backsplash options are significantly more pricey
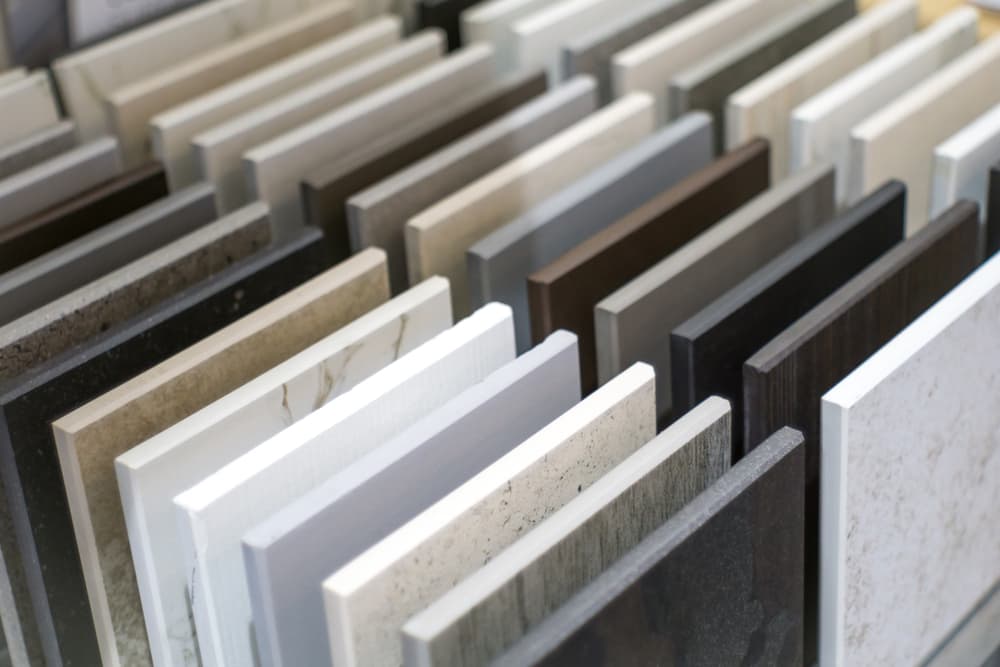
For DIY projects, beadboard is a fantastic substitute lining material
Beadboards were first widely used in the Victorian era and were typically constructed from wood that had been narrowed and grooved
Instead of separate wood boards, they are now often built from medium density fiberboard (MDF) panels, while interlocking MDF boards are still an option
Polyvinyl chloride can also be used to make beadboards (PVC)
PVC beadboards are frequently used outdoors, are extremely robust, and are moisture-resistant
MDF is a man-made substance created from resin and wood fibers
During the production process, chemicals may be added to enhance moisture resistance
There are several advantages to using beadboard as your kitchen backsplash
A simple, enjoyable, and satisfying do-it-yourself job is installing a beadboard backsplash in your kitchen
The least expensive backsplash material for kitchens is beadboard, and it also looks terrific
The kitchen gains texture and aesthetic appeal from the beadboard’s grooved surface, which also provides warmth and prevents the space from appearing cold or austere
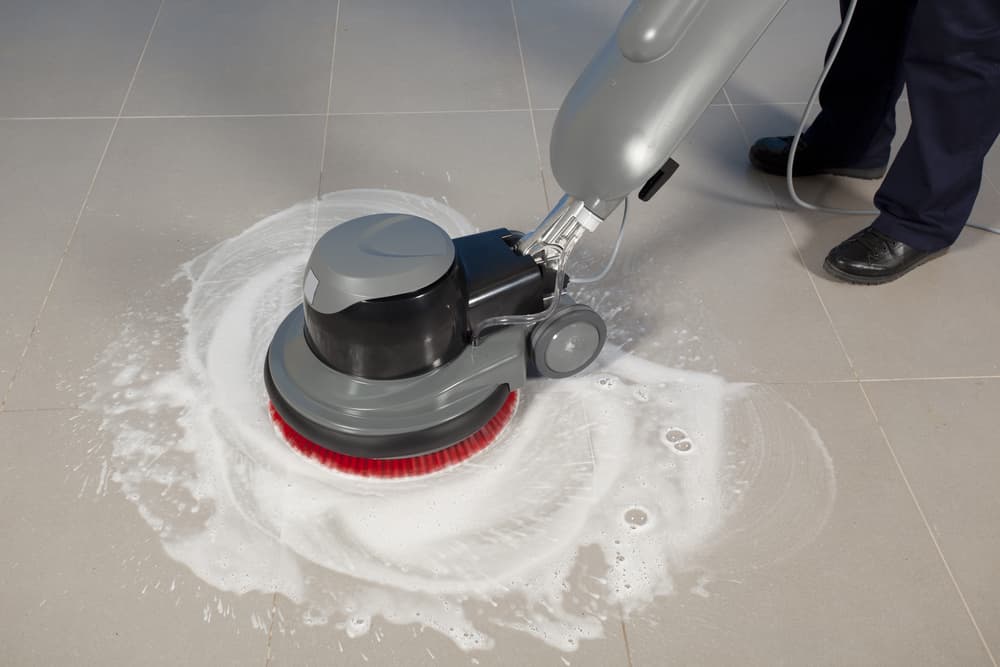
The backsplash made of beadboard is very simple to clean
Splashes or spills should be cleaned up with a microfiber cloth
Most dust and debris on surfaces may be removed using a moderate surface cleaner
An old toothbrush might assist in removing dried food residue for thorough cleaning inside the grooves
The techniques and possibilities for installing this style are numerous
Whenever beadboard backsplashes are installed:
Calculate the beadboard’s size
From the counter’s bottom or the bottom of a tiny backsplash connected to the counter, measure the wall
Next, measure the space to determine the entire length required
Measure each cabinet separately if its height varies
Calculate the required amount of lathe
You will need some sort of trim, but how you use it will depend on your preferences and the materials you already have
Beadboard is cut to size for each outlet
You will need to cut the beadboard to fit and wrap it around each outlet if you didn’t cut it to the right size
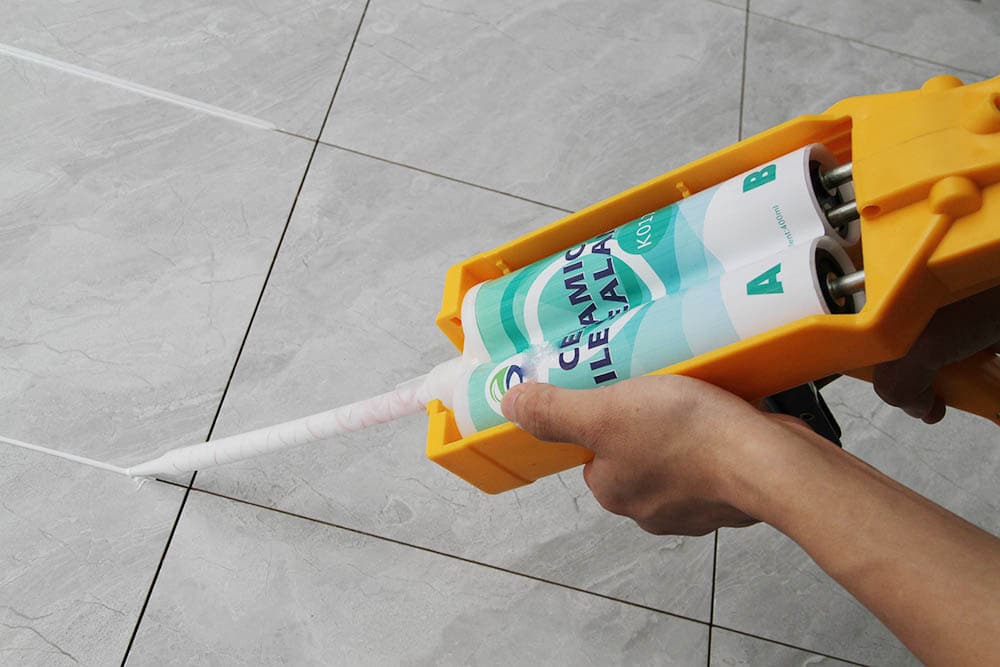
Mount it to the wall
Using a nail gun, fasten the beadboard to the wall
You may also use an adhesive like liquid nails or tile glue to secure it
Trim to size
Utilizing miters, cut each of these components to suit the corners
Paint and seal! It looks fantastic after being painted and sealed
Beadboard may be used in a variety of inventive ways as your kitchen backsplash
Unlike tile, stainless steel, or glass, panels may be simply trimmed to fit to provide the seamless appearance of a whole backsplash in smaller sizes
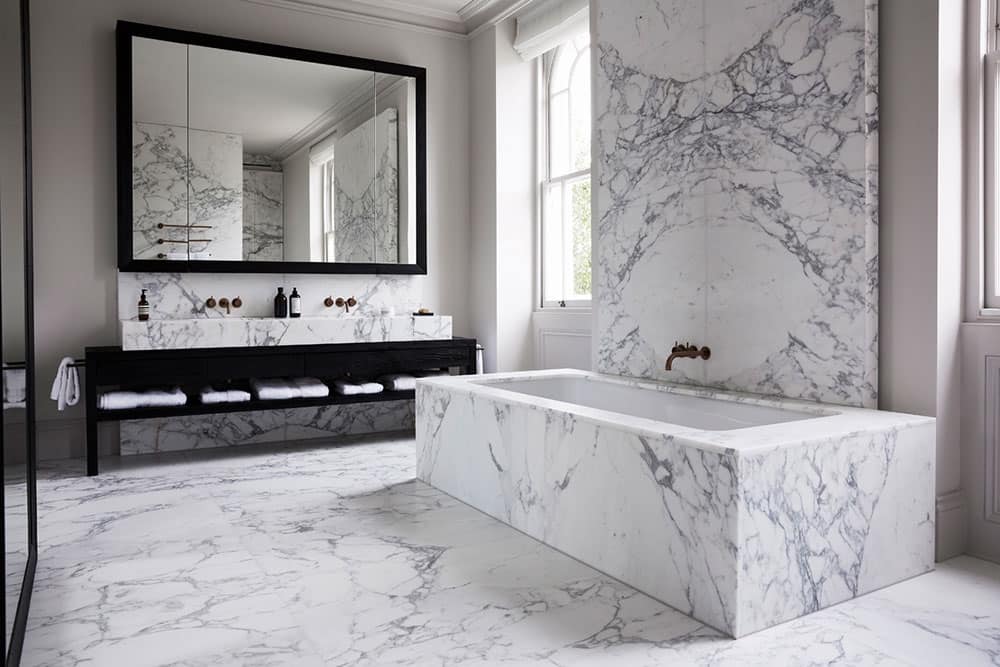
Beadboard is a structure made of wood fiber and resin that is warmer than other types of backboard materials
The look of wood planks is contributed to by the wider space that exists between the slats, which is characteristic of the farmhouse design
The kitchen in the English-style cottage makes more use of wood, very similar to how the original Victorian design made use of wood strips in the kitchen
It’s possible that employing thin beadboards will benefit you
Another essential aspect to take into account is the depth of the groove
The appearance of the panel is maintained when a thin beadboard that has little grooves is inserted into it
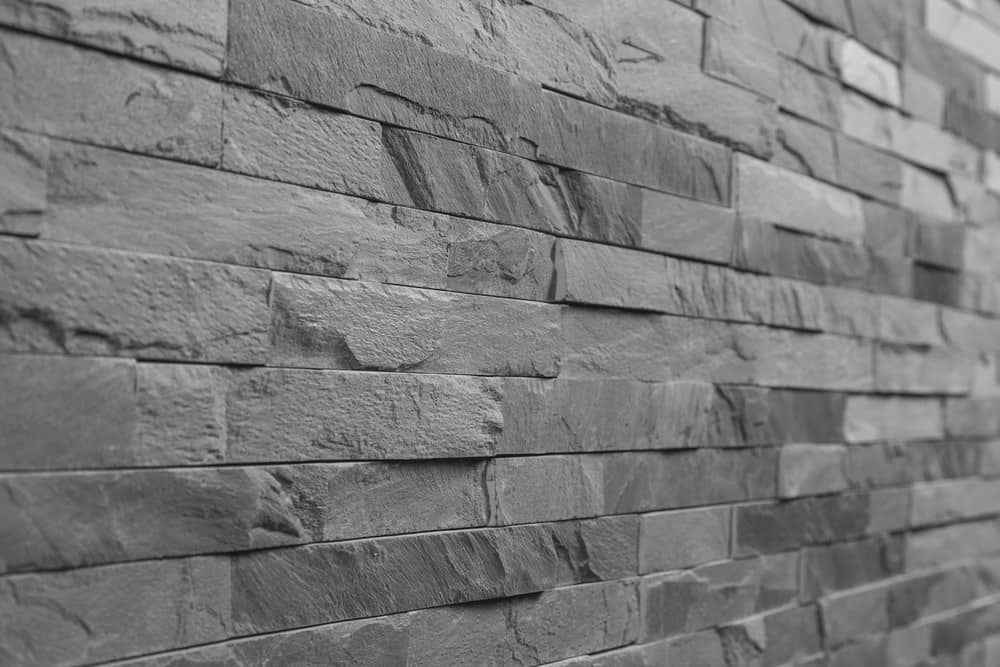
Boards with more substantial wood grain and deeper grooves provide an appearance that is more faithful to the look of wood planks
Remember that the grooves need to be cleaned on a regular basis, and choose the depth of the grooves based on how comfortable you want them to be as well as how they look
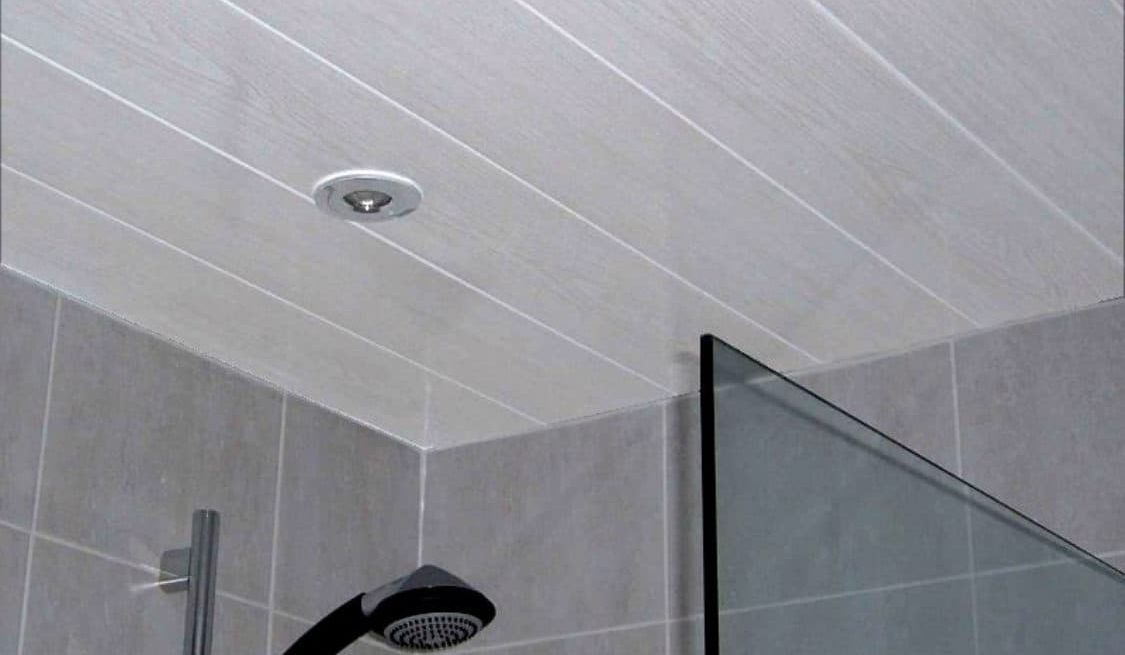
Choose PVC if you want a beadboard that is completely waterproof
Due to PVC’s strength, durability, and water resistance, these beadboards are perfect for outdoor kitchen sprinklers
Showers can also utilize PVC planks
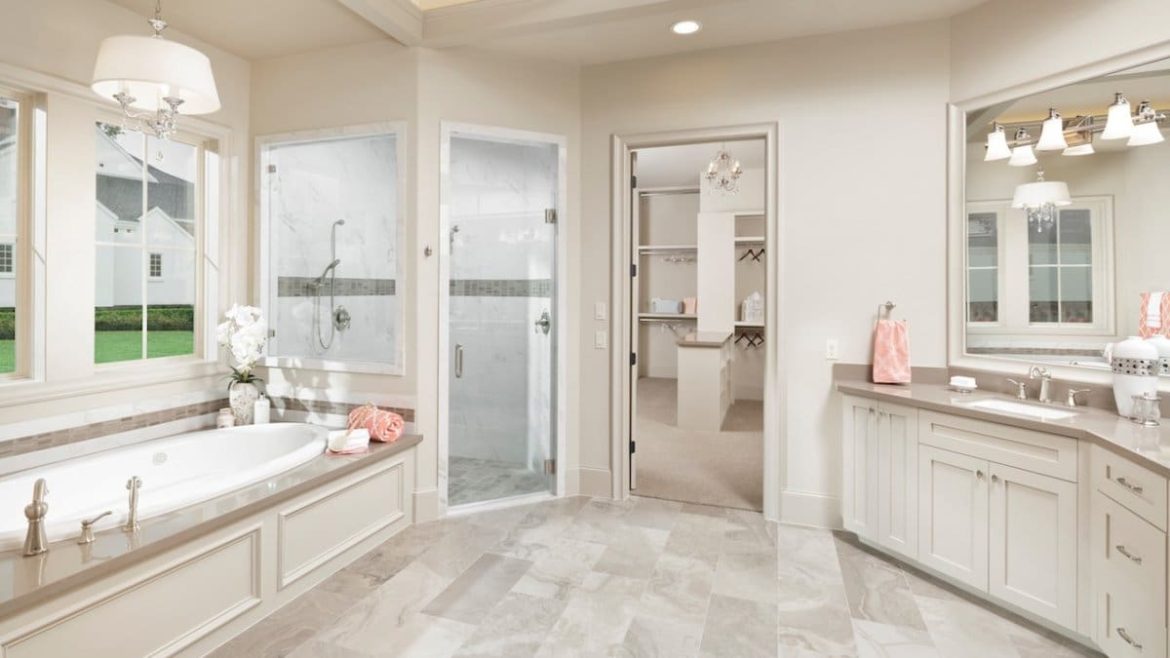
For kitchen interior treatments, look for MDF beadboards that are water-resistant
Even if you don’t want your kitchen backsplash to become wet by swiftly wiping up spills, water-resistant MDF beadboard works well as a backsplash
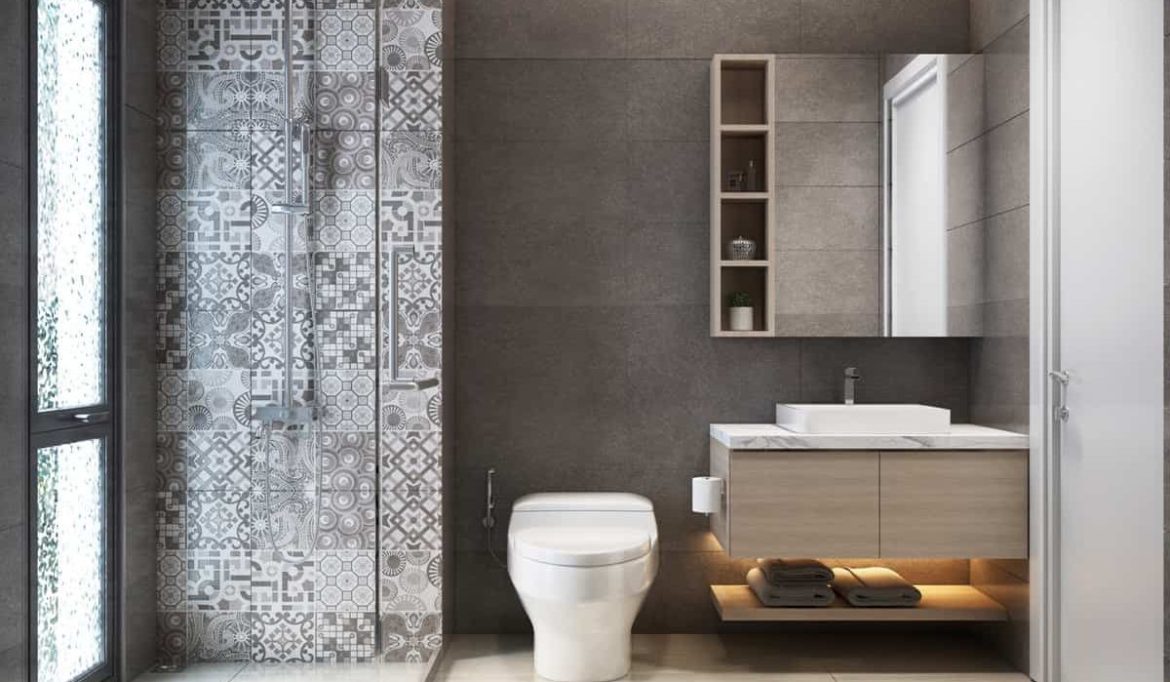
If you are unsure about your ability to maintain a typical beadboard backsplash, installing a tile backsplash may be the answer
There are tile patterns available that look like beadboard, and these tiles offer a number of advantages over conventional building materials, including the fact that they are more durable and require less upkeep
Beadboards made of tile may be mounted directly on walls if the walls are adequately prepared beforehand and the appropriate adhesive is used
There are times when older wall coverings are covered with tiles
You will be able to make changes to the space without having to worry about causing damage to the walls or other materials that are already there if you do this
Beadboards were often put in a vertical orientation; however, this is not the only possible orientation for them
Beadboard that is installed horizontally offers a one-of-a-kind look that is both appealing and desirable, making it an excellent choice for use as a backsplash in kitchens
If you are working with a limited budget but yet want your kitchen to have a nautical feel, horizontal beadboards are the way to go
Just a few coats of acrylic or oil paint are all that is required to create a colorful beadboard backsplash that can completely transform the look and feel of a kitchen
Food preparation debris may end up on kitchen backsplashes
Consider the cleanliness of the paint you select because there are several, and steer clear of painting with a matte finish in favor of a more glossy finish
A suitable middle ground between cleanability and mild reflectivity is semi-gloss