High glass tile backsplash kitchen + Buy
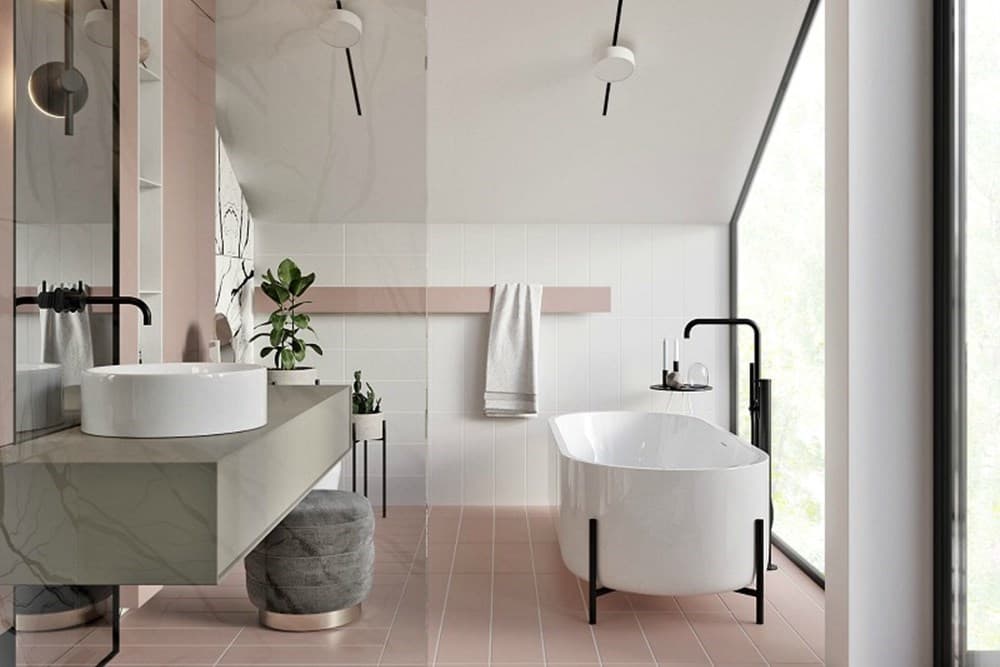
The backsplash of your kitchen or bathroom should be made of glass tile because they reflect light beautifully and come in a wide variety of colors
The installation and usage of glass tile for backsplashes is popular because of the material’s aesthetic appeal as well as its versatility and longevity
The installation of a backsplash made of glass tiles takes some time and work, but the result is a blaze of color and a new dimension added to the wall and the room
Verify that you have the skills necessary to do this assignment
You will find some advice, full instructions, a list of the products and tools you will require, price ranges, safety warnings, and further information below
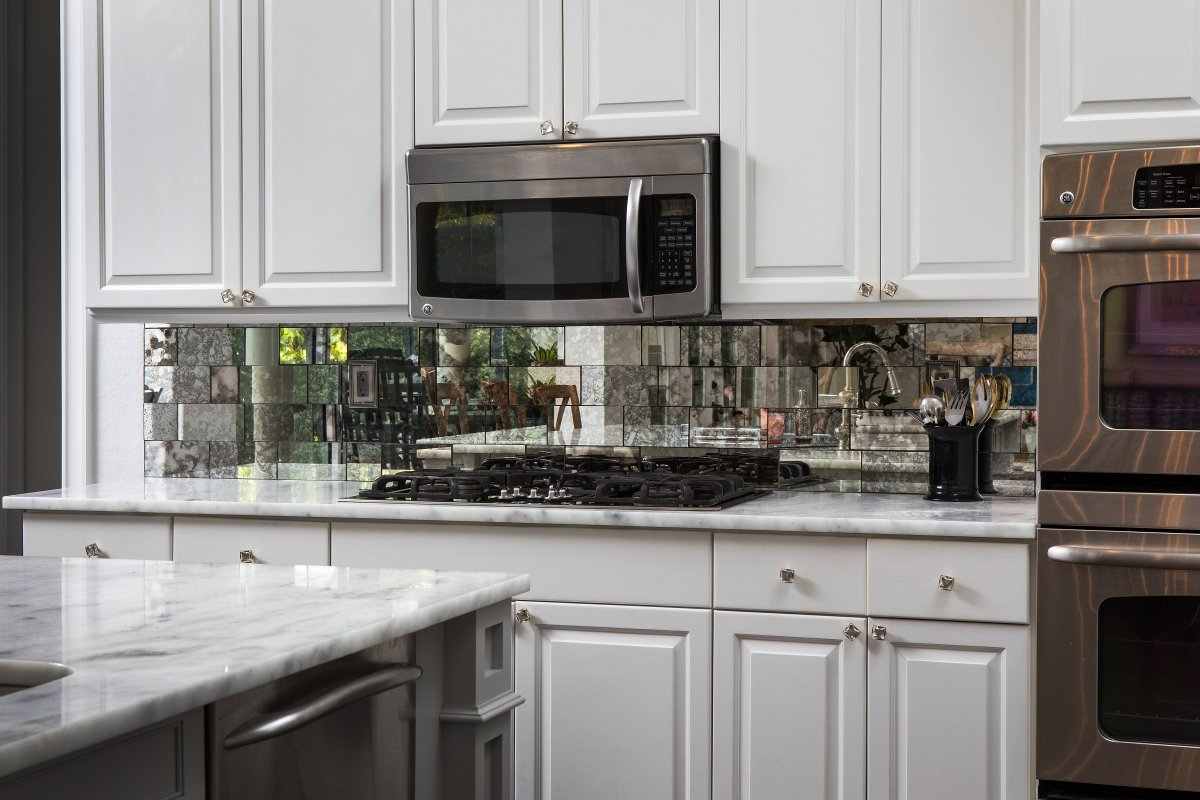
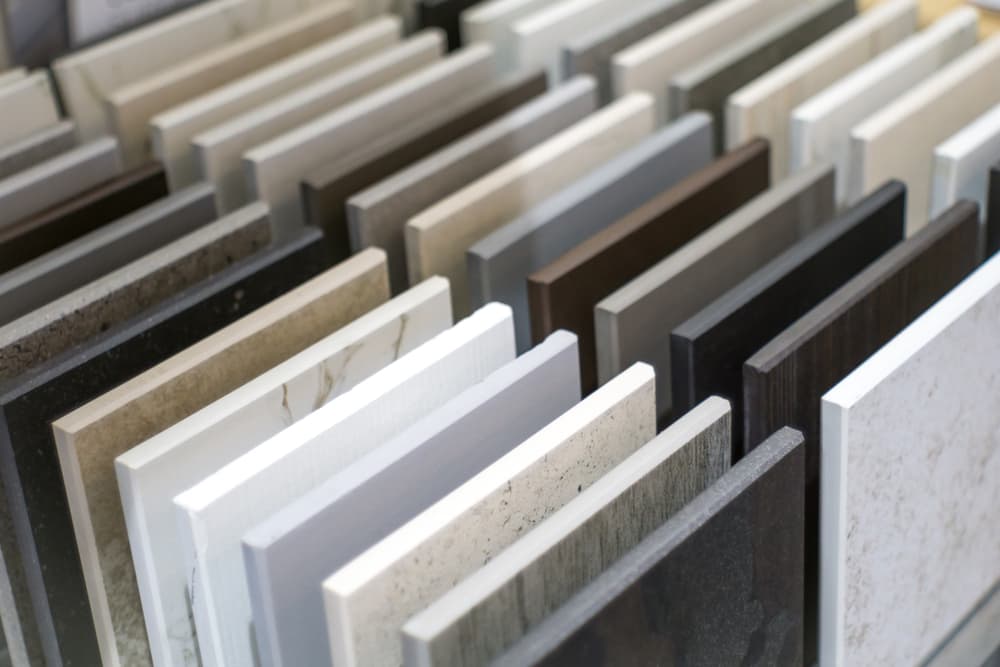
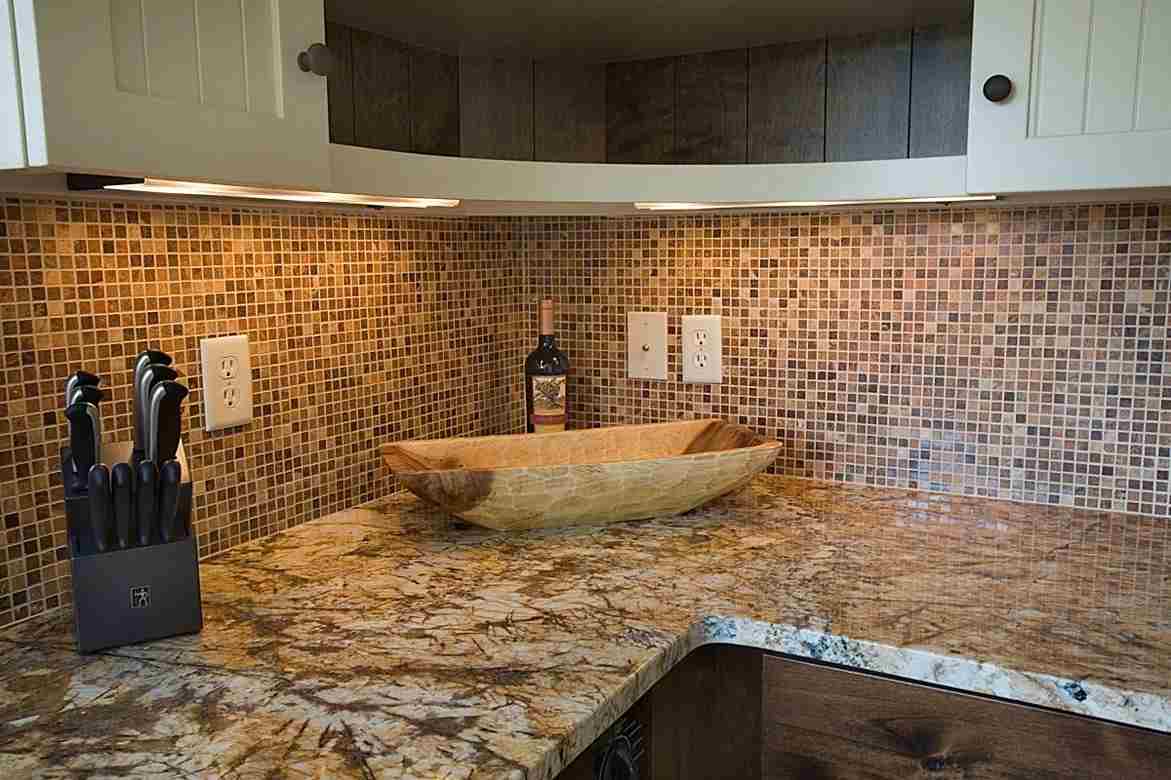
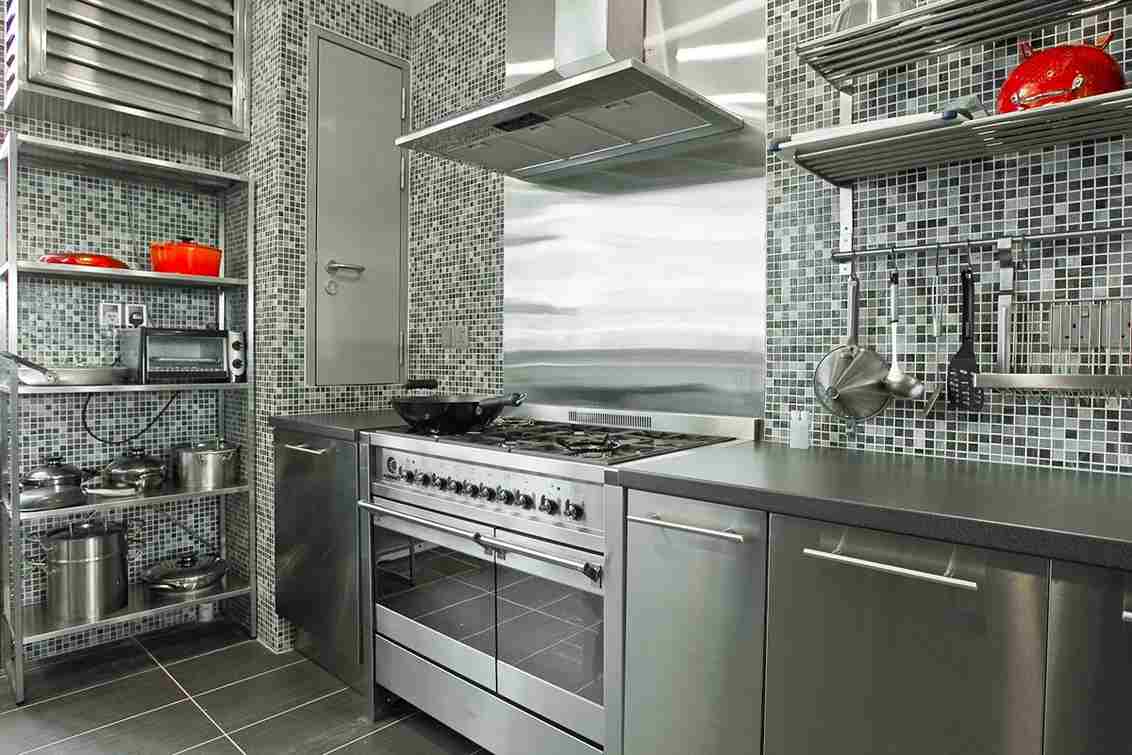
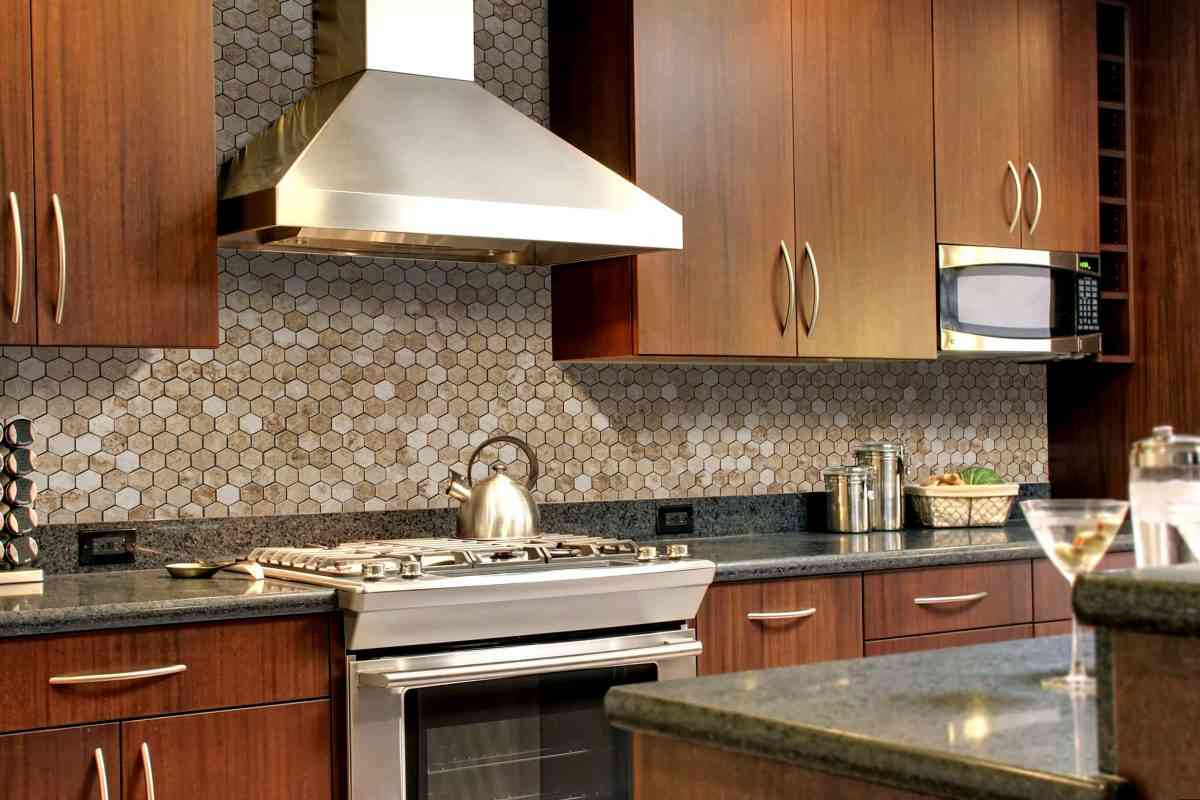
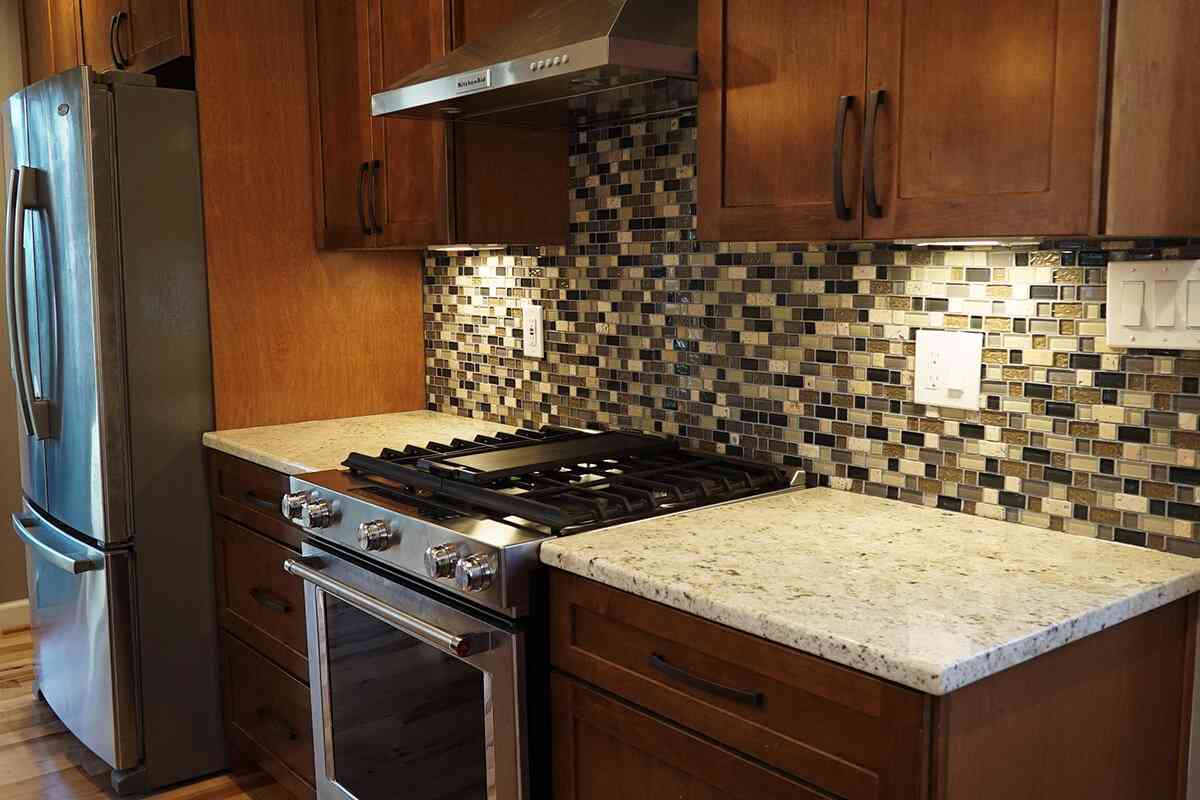
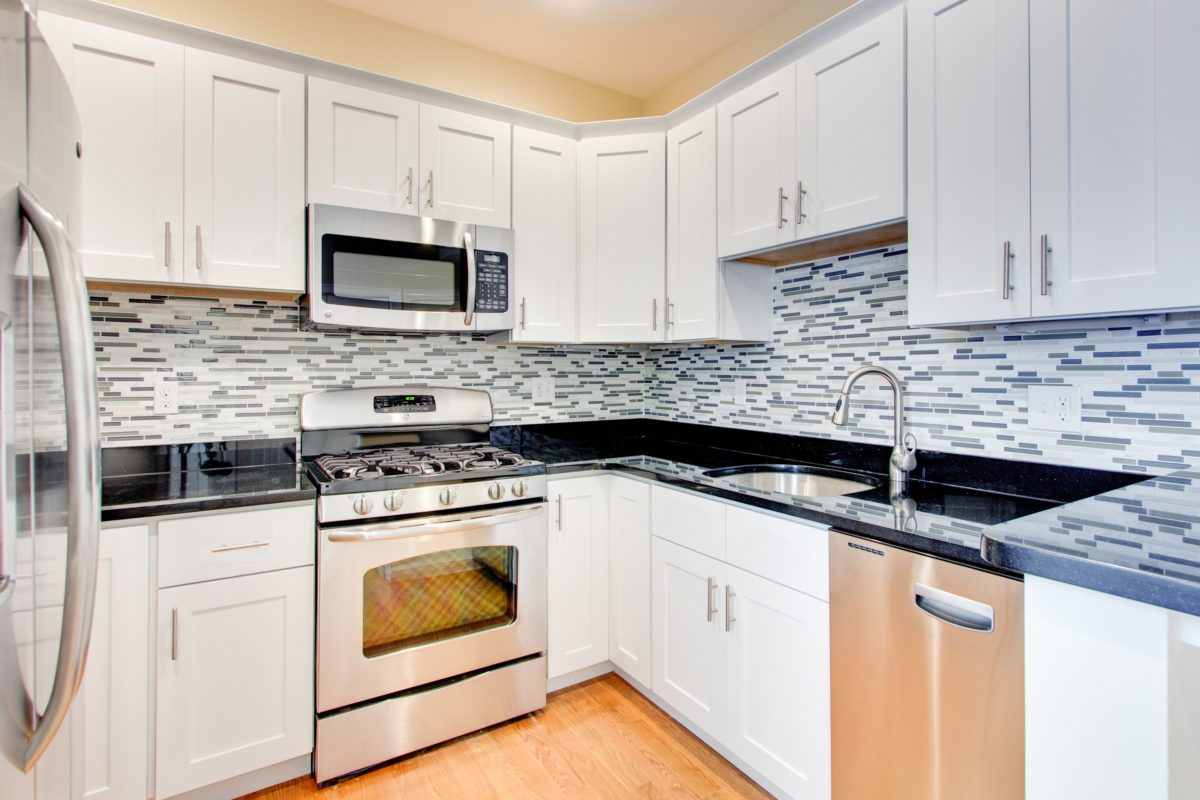
Choosing Between Glass Tiles The beautiful brilliance and depth of glass tile can be attributed to the tile’s translucent appearance
There is a wide selection of glass tile available in a variety of colors, shapes, and sizes from which you may choose the tile that you like most and that goes the best with your home
Some of the glass backsplash tiles may have designs that run vertically, while others may have patterns that alternate between huge rectangular pieces and shorter rectangular parts
Before going into the store to make a purchase, it is a good idea to take some time to think about and decide on the specific shade and colors you are interested in purchasing
This is because the selection of available colors and patterns may be quite overwhelming
By making this decision, the number of options available to you will be narrowed, which should make navigating the situation easier
Before you begin, you should make sure that the surface of your wall is level and smooth, without any ripples, uneven areas, or gaps
If there are, you will need to either install a backer board over the section of the wall where you intend to place a backsplash or apply a skim coat of drywall compound to level out the area, wait for it to dry completely, and then sand it
If there are, you will need to install a backer board over the section of the wall where you intend to place a backsplash
By carrying out these steps, you will have the ability to ensure that the tile will adhere to a level, stable surface that does not sway or bulge in any particular areas
Things to Keep in Mind Regarding Safety In the area where the backsplash will be installed, the circuits for all of the outlets should be switched off
Head to the main circuit breaker box in your home, which is often situated outdoors in the garage area
Once you’re there, locate the circuit breaker that controls the electrical outlets in the room where the backsplash will be installed
By taking this action, you will prevent the power from reaching that section of your home
After turning off the breaker, you should check each outlet with a circuit tester to ensure that the energy has been turned off
Even when the circuit breaker is turned off, you must take care not to touch any of the wires that are located within the open outlets with your fingers or any other things

Tile Backsplash Installation
In order for installation of tile backsplash, you should consider the following steps
Cleaning and Patching of Walls Attach a sheet of plastic wrap to the top of the countertop using tape
The wall must not have any ridges or depressions of any kind, and it must be totally level
Remove any defects by using a drywall sander that is fitted with a drywall sanding screen or sandpaper to get a smooth surface
Cracks and depressions can be evened out and made smooth by filling them with drywall compound
It is recommended that a Countertop Spacer be created
Between the underside of the bottom row of glass tiles and the surface of the countertops, there should be a space that is 1/8 of an inch wide
A single layer of discarded cardboard that is fastened to the counter performs well in the role of a spacer
Put together a ledger for the time being
To cover areas that are not part of the countertop area, you can make a ledgerboard by attaching leftover one-by-two or one-by-four timber to the wall in a manner similar to how picture frames are hung
Make sure that the ledgerboard, and not the countertop itself, is the correct height for the cardboard spacer that sits on top of the countertop
To help you lay down the first row of tiles in a straight and level line, you can use something called a ledgerboard, which is simply a piece of wood
Make a decision regarding the centerline of the tile
Using the tape measure, locate the centre of the area where you will be installing tiles
Here is where you want to shoot the laser level’s vertical line
Dry fit should be selected for the horizontal dimensions
Tile ought to be utilized for the surface of the countertop
You need to make a decision now regarding your horizontal spacing
In general, cut tiles should not be used in locations that will be visible to the public
If, for example, there is a corner on the left and a refrigerator on the right, you should begin tiling on the left with full tiles and finish tiling next to or behind the refrigerator with full tiles
With outlets, you have a little bit more leeway because the outlet faceplate offers coverage in all directions for up to an inch
This gives you a little bit more room to work with
Cut the backing made of mesh
Utilizing scissors, cut through the mesh backing that was keeping the tiles together
Dry fit should be selected for the vertical dimensions
Between the bottom of the wall cabinets and the top of the countertop, there is typically a space that is twenty inches wide in the typical kitchen
Two sheets of mosaic tile add up to a total height of 24 inches when placed together
As a direct consequence of this, you have a lot of available workspace
After positioning one tile piece on the cardboard spacer, hold it against the wall with the other hand
Keep the second portion in place so that it overlaps the section at the bottom of the wall cabinet and is positioned 1/8 inch below the base of the cabinet
You’ll need to decide where on the tile sheet to make the cut
In a manner analogous to the prior action, cut the tile with scissors to the appropriate vertical dimension and make any necessary cutouts for electrical outlets
It is often OK to increase the expansion area over the 1/8-inch mark to 1/4-inch or even 1/2-inch if this becomes necessary
This space is not very obvious because it is located beneath the cabinets where everything else is stored
Thinset should be applied to the wall
When applying thinset to the wall, do so in three stages, working in sections of two feet square each time to prevent the thinset from drying on your skin: Using the notch trowel, remove some thinset mortar from the container, then use the flat edge to spread it evenly across the wall
Maintain your thickness at about a quarter of an inch
Utilizing the notch in the edge, pull the thinset in a horizontal direction
An excessive amount of thinset will stick to the trowel or drop onto the tabletop if it is applied
To eliminate the grooves in the thinset, you should use the side of the trowel that is broad and flat
(Thinset mortar, which is also known as dryset mortar, is an adhesive mortar made of cement that is used to attach tiles or stones to a wall
)
Place the first row of tiles in place
At the midline of the thinset, position a sheet of tiles such that it is sitting on top of the countertop spacer
It is important that the centerline be aligned with one of the sheet’s edges
A scrap piece of one-by-four and a hammer are used to secure the tiles in place on the sheet by pounding the sheet with the hammer
Finish laying the tiles on the field
Continue to add tile sheets to the tile field while working from side to side
After completing the work in the bottom row, go to the work in the top row
It is necessary to give the tiles a few mild knocks with the one-by-four and the hammer in order to flatten them, particularly in the areas where the tile sheets meet
Scrub the Ceramic Tiles
After the tile has finished curing in the thinset, apply the grout to the tile joints using the rubber grout float
By sliding the float in a diagonal motion across the tiles, you can avoid the removal of the grout
After the grout has had time to dry, a cleanser designed specifically for grout haze should be used to eliminate the haze
Lock in the tile’s color
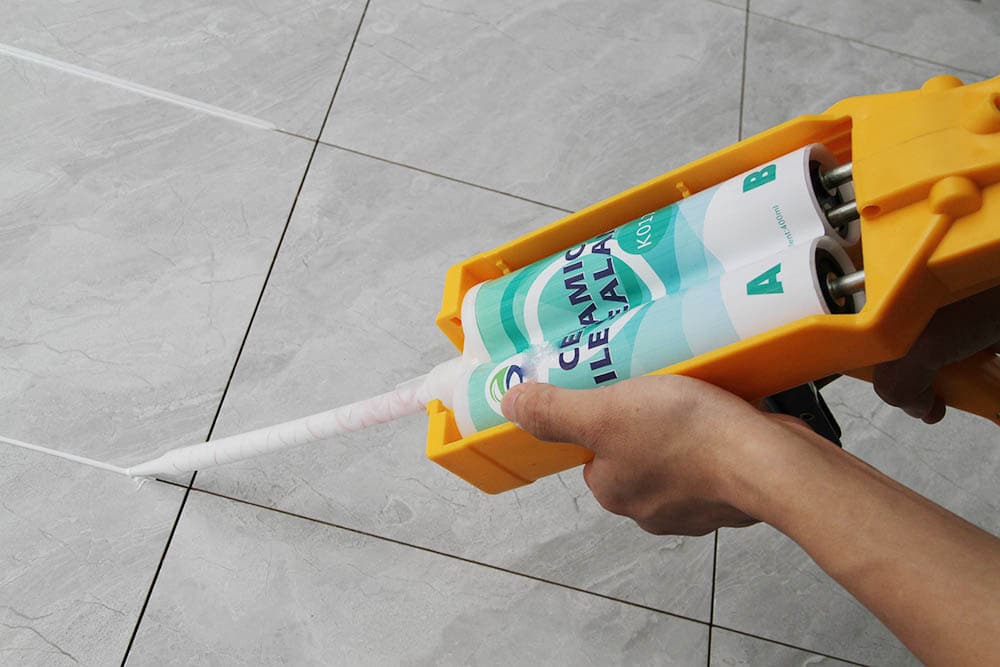
Caulk should be applied to the joints of the tile
If it is essential to do so, replace the outlets with extenders
With the help of extenders, the cover plates for your electrical outlets can rest in a flush position on the surface
A Few Suggestions for Installing a Backsplash Comprised of Glass Tile When installing a tile backsplash, it is recommended to use a laser level even though it is not essential
Because of the laser line, you can be certain that the tile rows will remain level and that your centerline will be preserved
Wait until the tile has had sufficient time to dry and adjust its position on the countertop before mounting it on the wall
It is recommended to find solutions to any problems with spacing in advance, well before employing the use of thin-set mortar
When working with glass mosaic tiles, it is often possible to totally avoid cutting any of the tiles by engaging in meticulous area planning
Putting in and the Price Glass tile is one of the possibilities for the backsplash, but it is also one of the more expensive ones
Because they are constructed of glass, these tiles require very little care, but because of that, it may be difficult to cut them
Before you get started on this project, make sure that your finances are in order and decide if you are going to do the task on your own or if you are going to employ a professional
The materials for glass tile can cost anywhere from $3 to $15 per square foot, but the price will vary depending on the color and pattern you select
The cost of professional installation of glass tile ranges between $20 and $30 per square foot on average
Cooperation with professional traders, anywhere and anytime, would be our pleasure
We form a professional team in exporting ceramic tiles with different qualities
Our target is all countries who desire the best quality tiles